How to onboard and engage your users with product tours
- Build product tours
- Enable the product tours on your web-app
- Analize how the product tours are performing

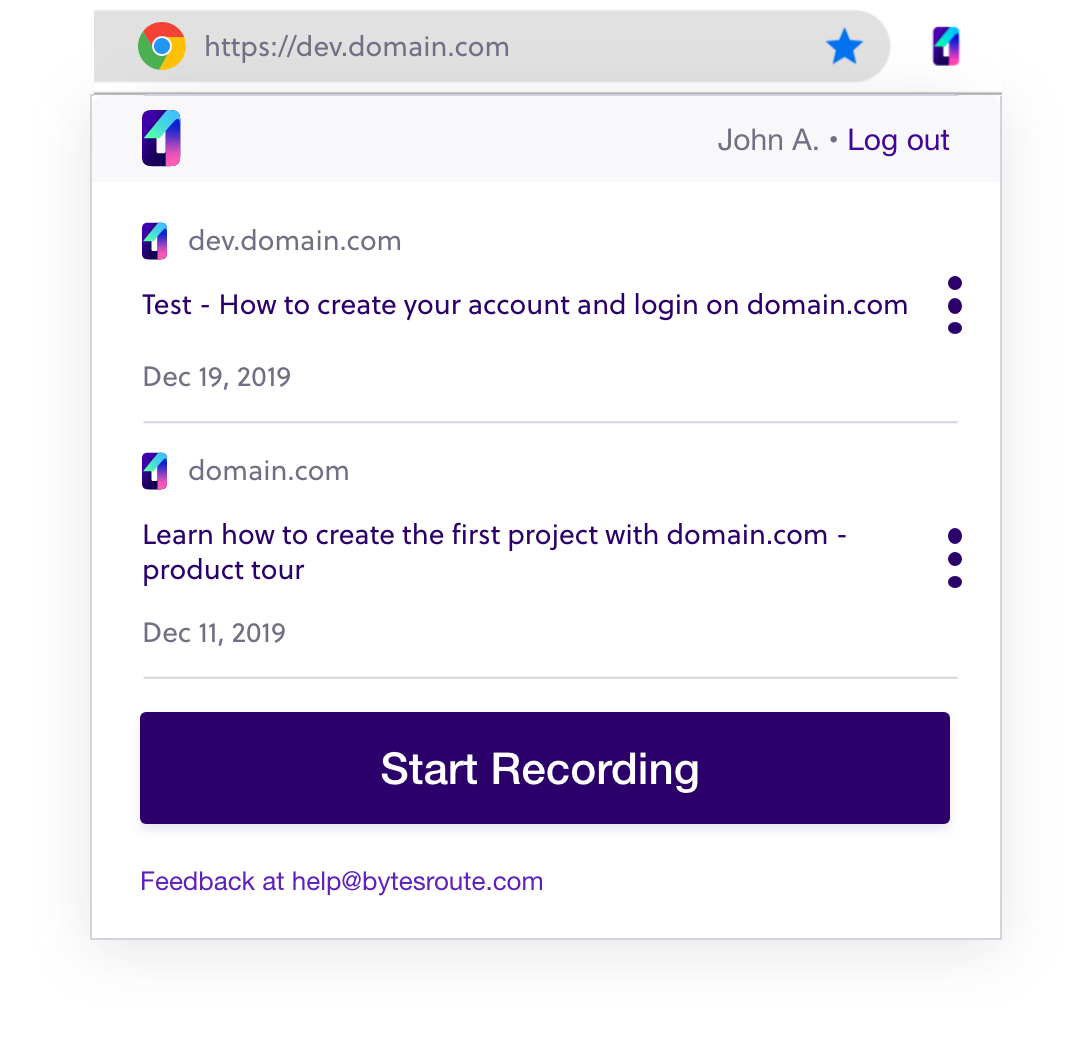
Once you’ve installed the Bytes Route Chrome extension, which is the tool designed for building tours, you can create as many product tours as you need. We encourage you to play around with your ideas, iterate on the story you want to tell your audience, and highlight relevant areas that would boost your user engagement.
You’ve tested and iterated on building some product tours. You’re done with creating and want to publish the tours, right? First, install the Bytes Route script on your domain. Go in your account, we’ve prepped a code snipped which you’ll copy and paste in your environment, be it a website or a web app.
Observe how your clients interact with the product tours you’ve created. Use analytics to measure how these product tours are performing. Iterate further on the tours based on numbers and data. This strategy will lead to increased effectiveness and user engagement if performed correctly.
Need Help with Onboarding?
Tell Us Your Challenges.