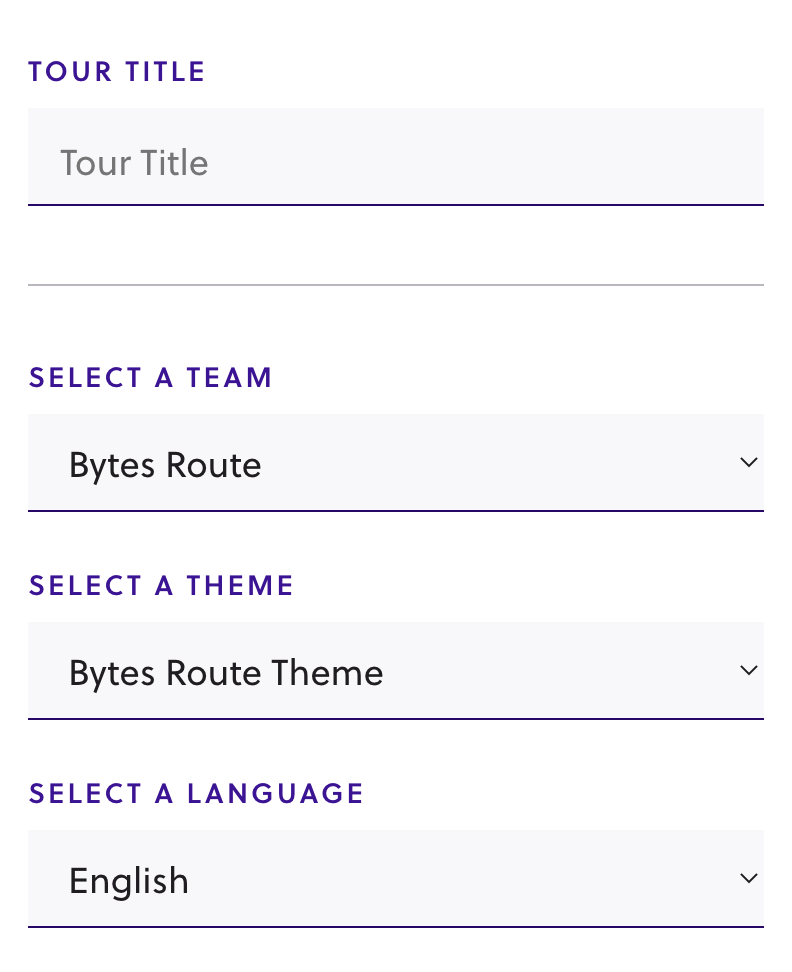
The tour finalization section, within the tour builder, contains the final details the end-user needs to fill in order to save the tour:

- Tour title – Choosing meaningful titles for the tours makes it easier for end-users to find them in the Launch widget. It also makes it easier for creators to find and manage the tours.
- Tour team – You must choose a Team for the tour. Each tour must belong to a team, in case your account has multiple teams.
- Tour theme (default: Bytes Route) – Creators can improve their tours with custom UI themes. This is essential for keeping brand consistency within the web application. Besides custom themes, creators can opt to leave the default “Bytes Route theme” applied to their tours. For more details on how to create and apply themes, read the Tour UI Themes docs.
- Tour language (default: English) – Creators can choose one language for their tour. Read more in the Multi-languages docs.
*Note: some of the above options might be restricted by a team’s subscription plan.
Actions that can be performed within this section
- Saving the tour – by pressing the Save Tour button.
- Discarding the tour – by pressing the Discard Tour. Clicking this button will delete all the progress made with the tour creation or editing up to that point. This is an irreversible action.
- Return to creation – by pressing the X button in the top-right corner. Doing this allows you to go back and add/delete/edit some steps.
Tour creation confirmation toast message
Once the user clicks on “Save Tour” a confirmation toast message will inform the user of the tour’s successful creation.

Was this article helpful?
YesNo