Creators can set a product tour to launch programmatically, using custom event triggers. This is an area that requires a little bit of programming on the creator’s part.
This method can be used to launch tours when users perform a page action, such as: clicking a button, moving the mouse, pressing a keyboard button, and more. Any event from the Event API Interface can be used.
Running a tour from a script
A tour can be set to run directly from a script. In the example below, we use the bytesroute.execute method to launch it.
<script> bytesroute.execute('run', tourID, options) </script>This method takes 3 parameters:
- action = as of the moment of writing this page, the only action is ‘run’.
- tourID = the ID of the tour. You can grab a tour’s ID from the Tour Options(link) page or from the Product Tours page, by clicking the 3-dots button next to any tour.
- options = (optional), options object that can set a tour to run with certain options. See the available object in the table below
| Option | Data type | Description |
|---|---|---|
| once | Boolean(default:false) | Sets a tour to only run once for a user. This is the equivalent of setting a tour to run once from the app. |
| delay | Integer: 10000(default:0) | Sets a tour to launch with a time delay. Value is in ms (1 second = 1000ms). This is the equivalent of setting a tour delay from the app. |
| autorun | Boolean(default: false) | Sets a tour to automatically run when the page loads. This is the equivalent of setting a tour to autorun from the app. |
| show | Boolean(default: false) | Sets a tour to be shown in the Launch Widget. This is the equivalent of toggling a tour’s visibility in the widget from the app. |
Finding the tour ID
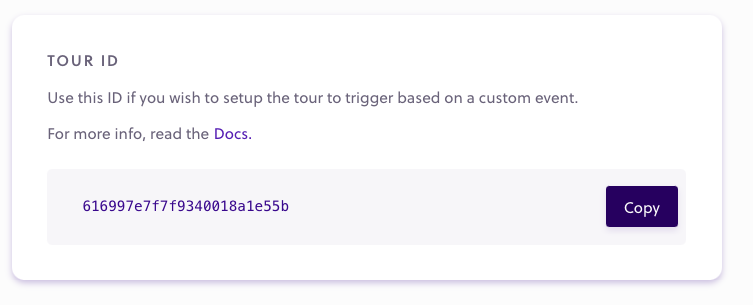
If you have a tour that you want to set to launch with custom options. The first thing you need is the Tour’s ID. You can grab the tour ID, from the tour options page.

Running a tour with custom options
This is how the options object would look like if we want to launch the tour once, with a 5 seconds delay, with autorun on, and with the tour set to also show up in the Launch Widget, for users that want to run it again:
<script>
   bytesroute.execute(
    'run',
    '5e3a9116c7fdbc029005e326',
    {
      once: true,
      delay: 5,
      autoRun: true,
      show: false
    }
   )
</script>
Running a tour based on an event
Below is an example of a tour that triggers after a button is pressed. The example uses the addEventListener method of the EventTarget interface. Any event from this interface can be used.
<script>
  document.querySelector(myButton).addEventListener("click", () => {
    bytesroute.execute('run', '5e3a9116c7fdbc029005e326', {once: false})
  }));
</script>