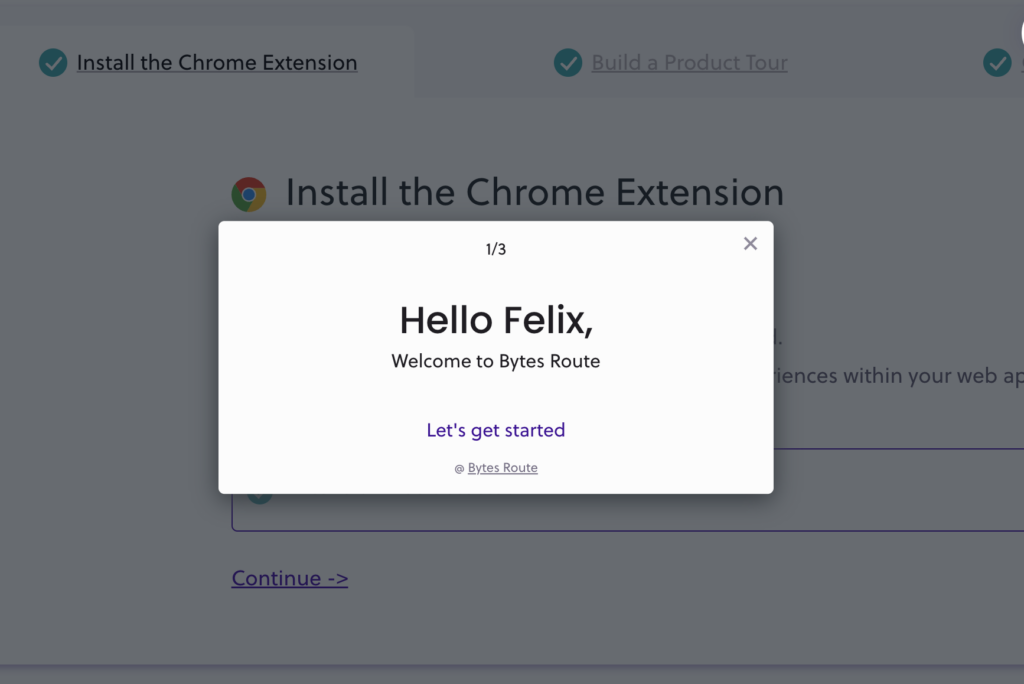
Using Bytes Route, creators will be able to design and build one of the following product tour types:
- Onboarding Tours
- Helper Tours
- Tooltips
- Modal Windows
The above represent guidelines that creators can follow to build effective content for relevant user pain points. Also, creators can mix the above content types within an interactive tour, having different steps types based on necessity,
Onboarding Tours
The onboarding tour, or guide is, as the name suggests, used to provide a welcome tour of the website to new visitors or introduce existing users to new features.
This type of tour usually has a relatively small number of steps. Bytes Route doesn’t have an upper step limit, but we recommend sticking to a maximum of 4 to 6 steps in order to keep it easy to understand.
When creating an onboarding tour, we suggest setting the steps navigation to be performed via the Next Step button. Doing so will provide a walkthrough of the web application areas without the users having to interact with the page itself, other than pressing Next.
Helper Tours
This type of guide is best suited for targeting specific actions that a user is struggling with. Also, another way to use it is to let the user directly interact with elements on the page that are important for end-user goal completion.
Examples of possible user goals that can be targeted by Helper Tours:
- How to change a profile picture
- How to change billing
- How to change the password
- How to delete an item in your library
A use-case example
The recently registered user, “John Doe” isn’t able to change the billing address on his account. He opens up the Launch widget and sees a Helper Tour named “How to change the billing address”. He launches the tour from the Launch widget and is guided step-by-step to completion.
Note: You can consult with the Customer Support team or UX Researchers in order to understand the most common areas where your users are having a rough time. It’s best to build Helper Tours that target specific user struggles.
Tooltips
Tooltips are best used as a contextual highlight of a new feature that was recently released. It can also describe an element that changed position and is now part of another section. The users see the update via the tooltip modal and can dismiss the guide by clicking on ‘OK’.
To create a tooltip tour, simply finalize the tour creation after 1 step.

Modal Windows
Modal windows should be used to hard engage with the users, by grabbing their attention and focus. It is a great way to welcome and inform users of important actions such as confirmations, deletions, or special announcements. Creators should make sure not to abuse this type of content in their onboarding and use it sparsely.
