The Step Editor is a section within the tour builder that is displayed after starting the creation of a product tour.
In this section, creators will be guided, step by step, on how to create content using Bytes Route.
- First, users can choose the type of step. The current options are: ‘tooltip’ and ‘modal window’
- Second, users will be informed to select either an element on the page or the entire page for a step tour to be anchored to.
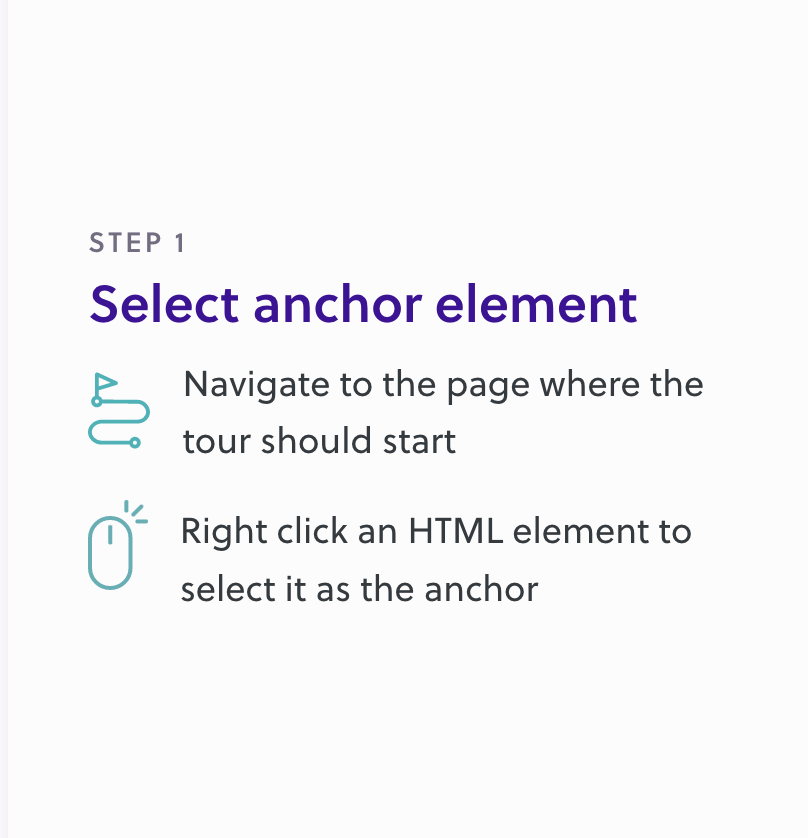
- Third, users will be able to configure the options for that specific step, after it has been anchored.
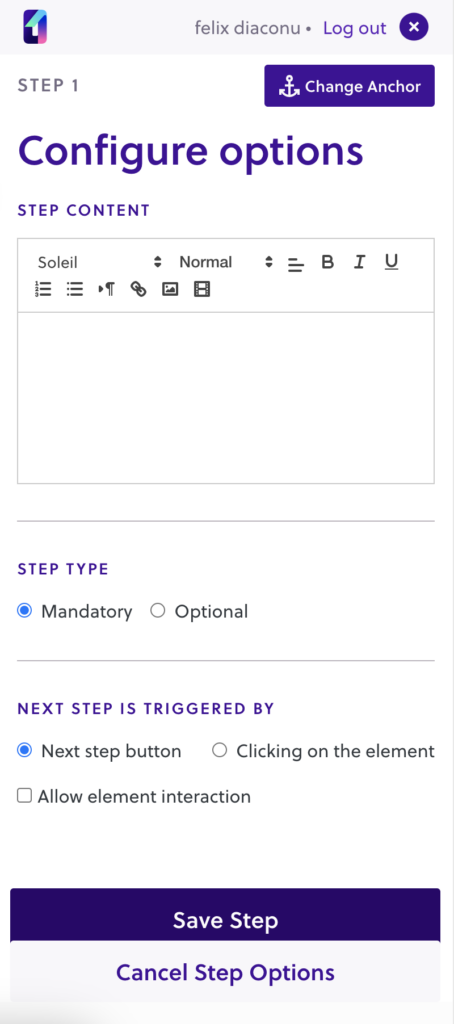
The options for a step are:
1. Change step anchor
This option allows the content creator to select another anchor element for the current step. This is useful in case there is a user error in selecting the current step. Also, changing the step anchor might prove useful, if for some reason the HTML element is no longer present in the DOM.
2. Step content
This section allows creators to design rich content within a tour step for end-user consumption.
The creator can opt for textual, image, and video content.
We recommend providing a textual description that briefly describes the current step, helping the user understand what needs to be done next.
Once the description is filled in, a preview of the step will be available.
Step description examples:
- “Click on this button”
- “Let’s select an option from the dropdown”
- “Fill in your details”
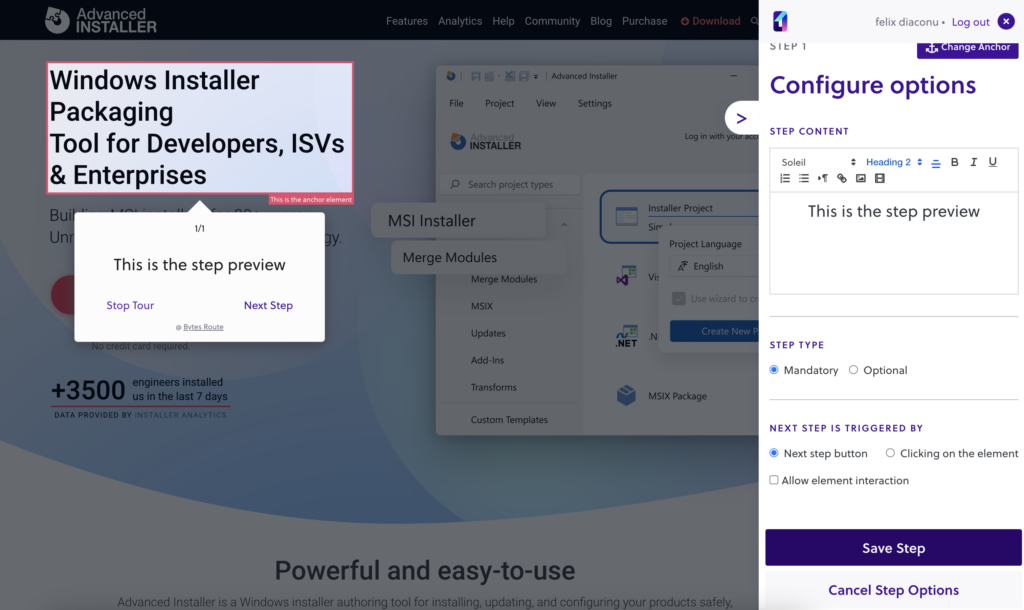
Creators can use the rich text editor to provide end-users with in-step images (up to 200kb), videos, lists, and hyperlinks. They can also use various fonts, font stylization, headings, and alignments for advanced customization of the step content.
Note: The rich text editor may not be available on all subscription plans.
3. Step is mandatory/optional
Marking a step as optional allows the tour to skip a step in case the anchor element isn’t found on the page. Mandatory steps cannot be skipped. In case the anchored element is not found on the page, the end user will be informed by an error message.
We strongly recommend marking a step as optional, whenever dealing with a login barrier, in order for the tour to be able to skip the actual login process. If created properly, the product tours will work properly for both logged-in and non-logged-in users.
4. Navigation options (Next step is triggered by)
The tour builder gives creators the option of choosing how the navigation to the next step will be performed.
Next button navigation
With this option checked, the end-users will have to press the [Next step] button in order to advance in the tour.
When selecting the navigation via Next Step, an extra option, “Allow element interaction” becomes available. This lets the end-user interact with the element before pressing next. A good use case for using this option is when typing in a text input before going to the next step. By default, this option is off.
If creators want to block the interaction with the step element, they can let the option unchecked.
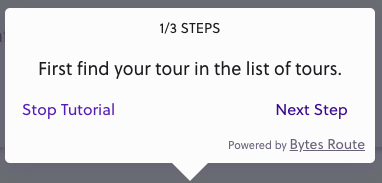
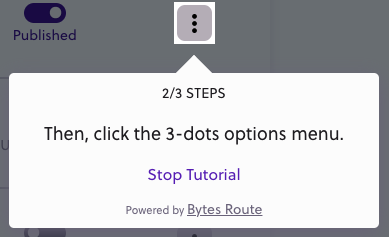
Clicking on the selected element
The alternative way to navigate to the next step is to ask end-users to click on the anchored page element. In this case, the [Next step] button will be hidden. This navigation option is useful for Helper-type guides or when you are trying to make a user perform an action on that step, thus developing muscle memory for returning users.
5. Background overlay
The tour builder gives creators the option of displaying a gray background overlay on a step. This option is only available for Modal Windows.

Helper tour building scenario
Let’s say we want to create a tour that teaches users how to register on the website, and then log in
We plan to have the following steps:
- Fill in the registration form (navigation: next step – element interaction ON)
- Press the [Register] button (navigation: click element), you will be redirected to the login
- Fill in the login information (navigation: next step – element interaction ON)
- Press [Login] button (navigation: click element)
- Welcome new user – use a modal window step type, write using the step content a very short introduction text with background overlay ON