The Anchor Selector is the process used for finding and anchoring content to HTML elements within a page or to the page itself, depending on the created content.

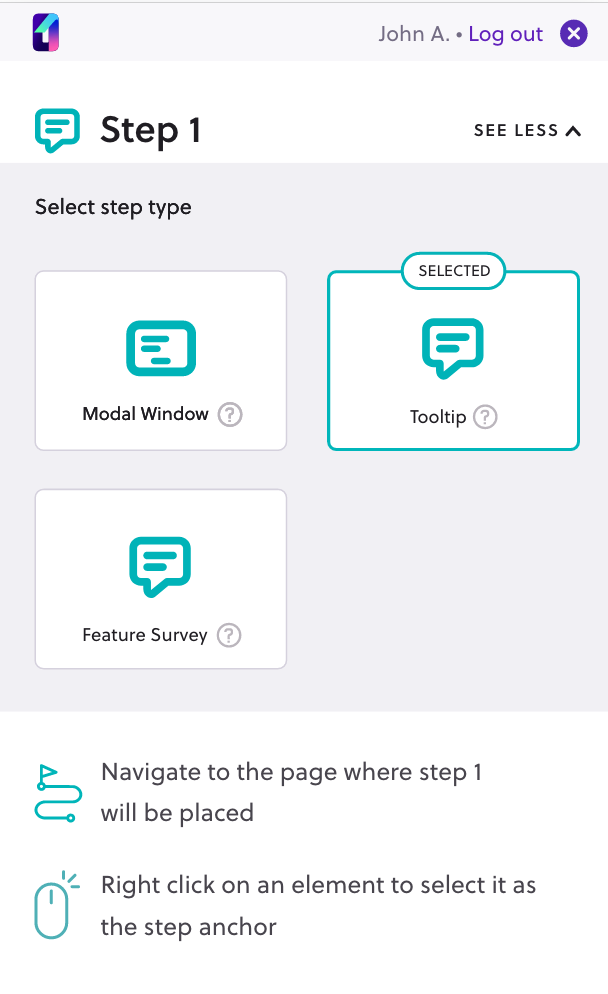
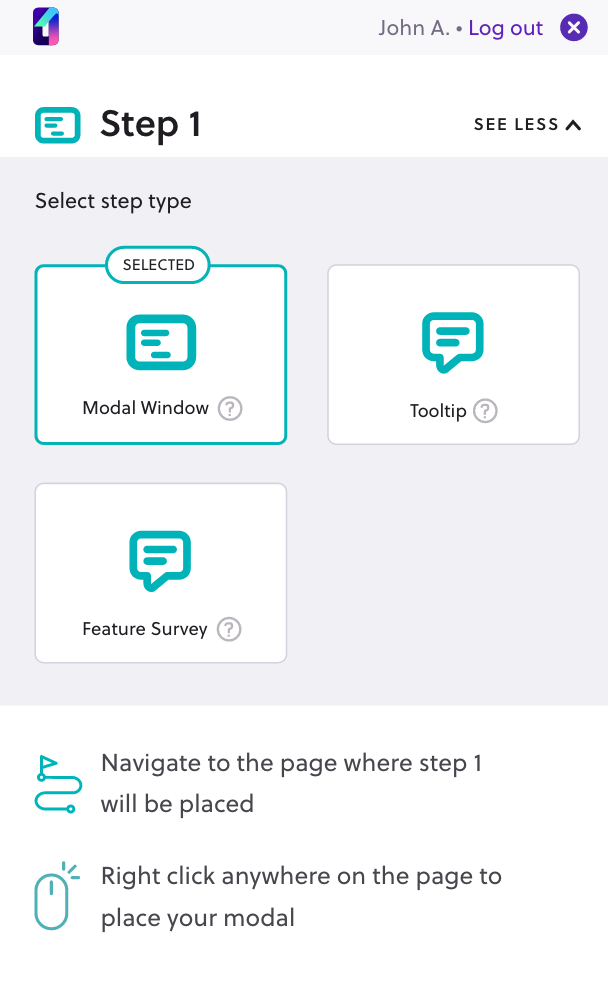
After clicking on the Create Tour button in the tour builder or in the web application, creators enter the tour creation mode. Users are then asked to choose the kind of step they want, whether a tooltip or a modal window (In the near future there will be more additions ).
Based on the selection, the system will trigger the anchor selector process on the users’ page, as follows:
1. If the step is a ‘tooltip’, the system will display a magenta-colored outline when hovering any hovered HTML element outside the tour builder.
2. If the step is a ‘modal window,‘ the system will inform the user she needs to right-click anywhere on the page, outside the tour builder, to place the modal. The modal window does not require a specific HTML element to be attached to, its “anchor” is the <body> HTML tag of the page.
1. Adding an element as an anchor point – when the step is a tooltip
A creator, using the Anchor Selector, needs to perform the following actions:
- Searching for the right element as the step anchor point
- Locking on the desired element (holding the cursor above it)
- Mouse right-click to bring up the Step Editor and select the HTML element as an anchor point
The tour builder will automatically detect the state the user is in and will inform the user of the action she needs to perform, in order to successfully complete her task. In the following picture, the tour builder informs the user she needs to navigate to her desired web page and how to select an element from the page as the anchored HTML element.

Searching for the right HTML element as the step anchor point
This operation is extremely important. Creators should pay close attention to which HTML elements they are selecting as anchor points. When a product tour runs for an end user, it is important that the anchored elements for the steps are present in the page/section the end users visit. In case the anchored HTML element is not present in the DOM, the tour step will contain errors and the end-users will not be able to experience the right content.
Selecting an inappropriate anchor HTML element is most common when dealing with single-page applications, as the HTML elements might be loaded differently, depending on various user or application states.
2. Selecting the entire page as the anchor – when the step is a modal window
A creator, using the Anchor Selector, needs to perform the following two actions:
- Navigate to the desired page, where the modal window will be placed
- Mouse right-click anywhere on the page to select it as the anchor for the modal window
